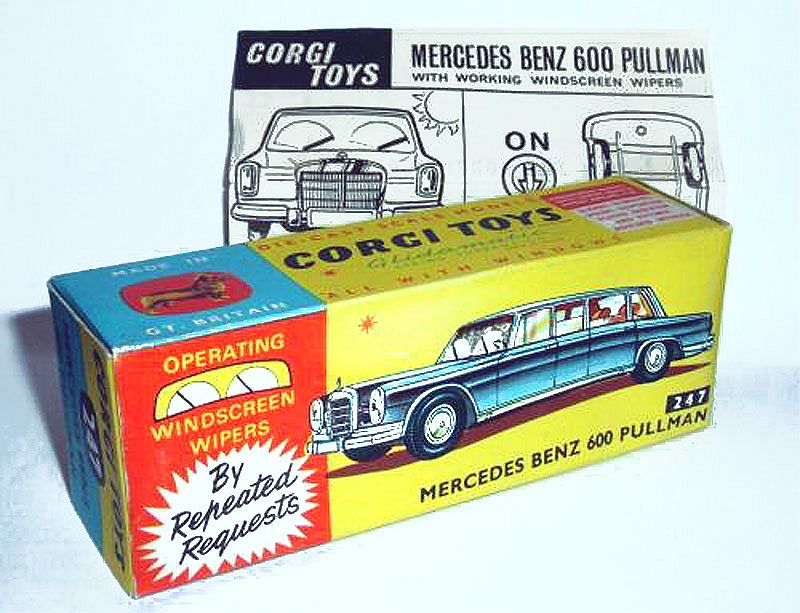
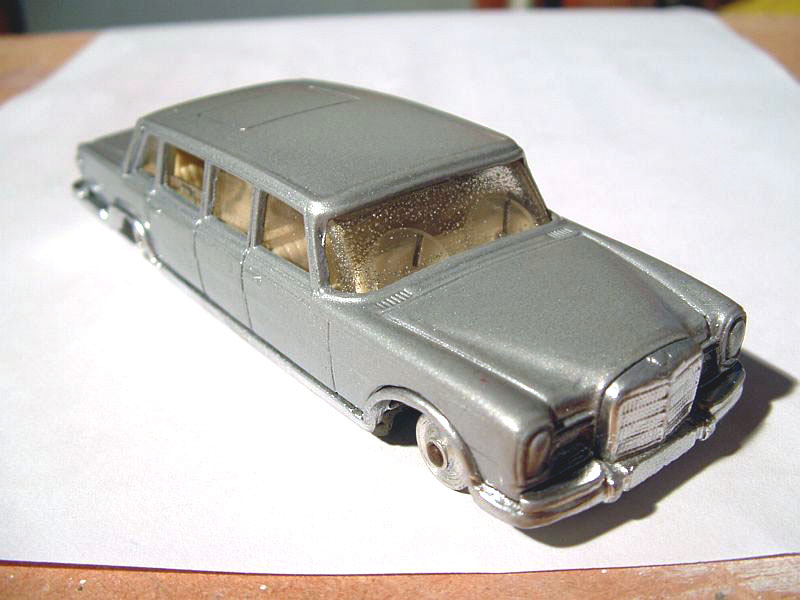
Corgi first issued this model in 1964. The model came with working windscreen wipers, dappled front windscreen (to represent rain) and rear passenger windows that slid up and down. The model remained in the Corgi Toys range until 1969 and appears to have only been issued in a metallic maroon colour with the usual plastic interior and chrome plated parts.
|
|
|

I have several of these models in various states of repair from poor to excellent – almost every model I have seen has chipping to the maroon colour scheme and most have been missing their Mercedes bonnet emblem. Even the so-called "mint" models on eBay all seem to have flaws and/or missing emblems…. So a non-chipped, fully chromed and "emblemed" model seems to be a rarity indeed!
In a fit of enthusiasm in July, 2006 (I decided it was too wet and cold to work on the house, the garage was "reasonably tidy" and any way, I was bored with surfing the Net) I took up the challenge of restoring one of these models. This soon became an exercise in rebuilding the model when I discovered just how difficult it was to match the paint!
Let me digress here to explain that the metallic maroon used on these models is:
- darn hard to get off due to it being what appears to be three different layers of paint that make up the metallic maroon, and
- it has so far proven very difficult to reproduce a colour close to the original due to the mix of these layers.
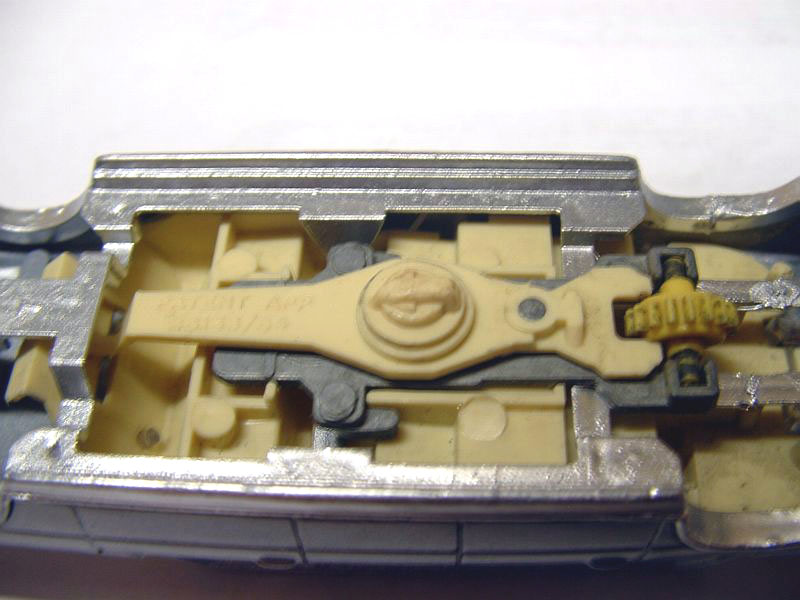
Layer one appears to be a top coat of clear lacquer; layer two appears to be a sort of "candy apple red" and layer three appears to be a metallic undercoat of gold. I came to this conclusion due to the fact that my commercial paint stripper took 4-5 coats to get down through to the bare metal! The first coat didn’t seem to do much… but I suspect it took off the clear coat… the second and third coats ate through the red and it took two more coats of stripper to remove the gold. I continue to experiment with mixing to try and get a match but decided, in the interests of actually achieving something, to paint the model metallic silver.
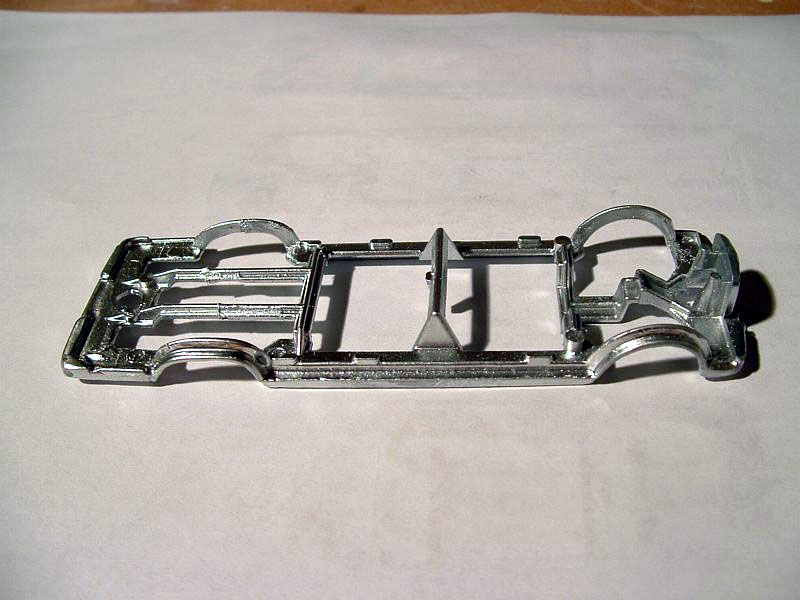
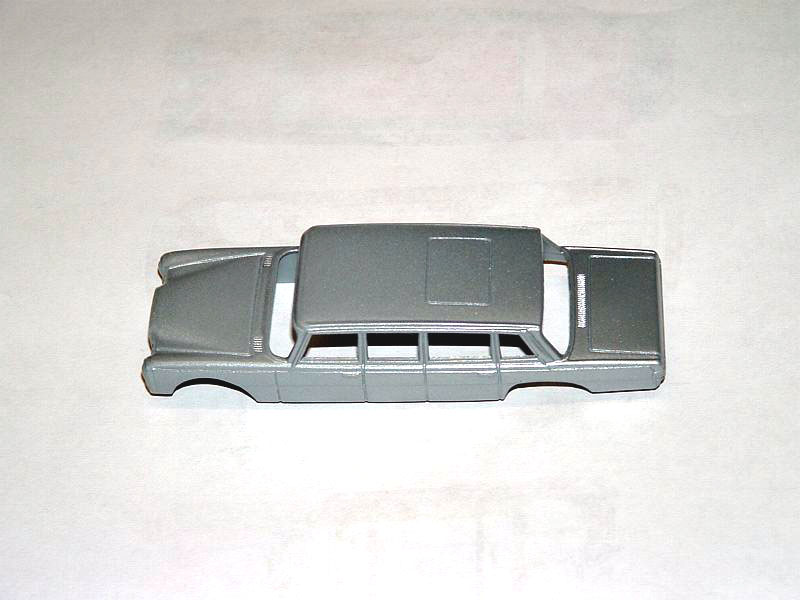
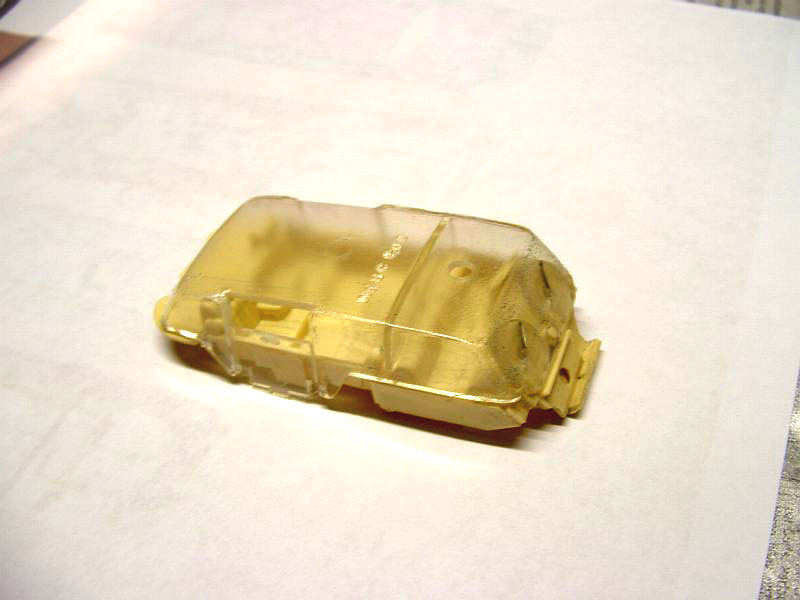
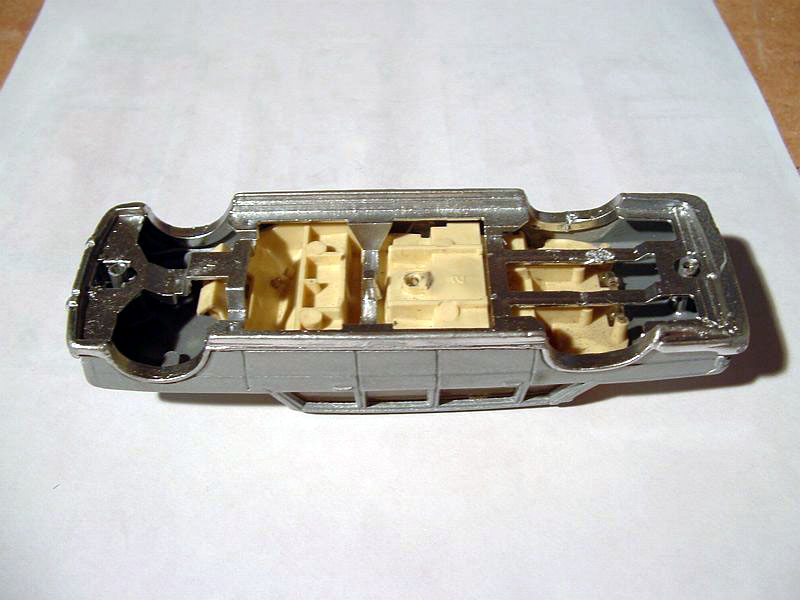
So here we go with a run down of the steps I took to rebuild the model…
|
|
|
|
|
|
|
|
|
|
|
|
|
|
|
|


So there we have it – relatively easy to rebuild the model and my next attempt will be a two-tone mask sprayed version in gloss maroon and silver, followed by versions in black and maroon, maroon and gold and hopefully, at some stage in the future, a metallic maroon version!
Copyright © Ian Cousins 2007. All rights reserved. No part of this article may be reproduced or transmitted in any form or by any means, electronic or mechanical, including photocopying, recording or by any information storage and retrieval system, without prior permission in writing from the author.
Ian Cousins, Wellington